Ever dumped a fresh batch of coffee beans from the roaster, only to watch them turn bitter as they keep cooking? That frustration hits hard when your perfect light roast ends up flat and ashy. A cooling tray fixes this by spreading hot beans thin so air pulls heat away fast, halting the roast right when you want.
Home roasters love this tool now more than ever. In April 2026, coffee trends show more folks roasting at home for custom brews. You get pro results without waste. This post breaks down why it works, how to pick one, and steps to use it right. You’ll control every roast like a barista.
Why a Cooling Tray Gives You Total Control Over Your Roast
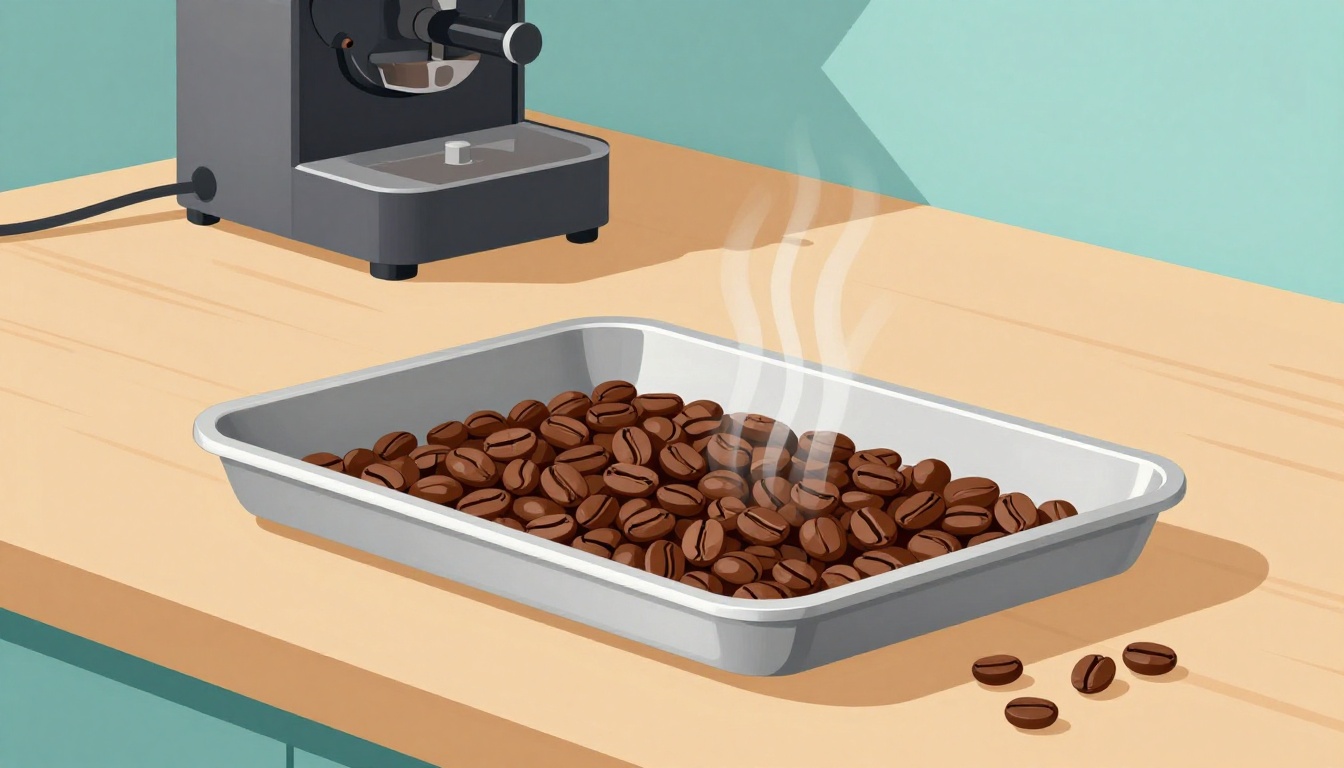
Beans don’t stop cooking the second they leave the roaster. They hold heat inside, so flavors keep changing. A cooling tray dumps that heat quick. You spread beans in a thin layer, and air flows through to cool them below safe temps fast.
This gives you power over the final roast level. Want a bright, fruity light roast? Stop it there. Craving caramel notes in a medium? Lock it in. No more guessing or ruined batches.
The Science Behind Instant Roast Termination
Beans hit 400 to 450 degrees Fahrenheit in the roaster. Even after you pull them out, carryover heat keeps them cooking for minutes. Without quick cooling, they overshoot your target.
A good cooling tray drops that temp below 150 degrees in three to five minutes. Fans speed it up, or you stir for airflow. Keep the layer no thicker than half an inch. Thicker piles trap heat, so flavors muddle.
Picture bread fresh from the oven. You pull it to stop browning. Beans work the same. Act fast, and you win.
Flavor Wins You Get from Precise Timing
Stop at the exact second, and you save those delicate notes. Light roasts keep citrus and berry tastes alive. Mediums build sweet chocolate hints without scorching.
Over-roast, and you get ash or flat brews. Home roasters often face this because carryover sneaks up. One user shared how their Ethiopian beans went from floral to burnt in two minutes flat. With a tray, they nailed it every time. Your cup tastes cleaner and brighter as a result.
Choose the Right Cooling Tray for Effortless Results
Pick a tray that fits your setup. Match it to batch size first. A one-pound roaster needs a smaller tray than a five-pound beast.
Materials matter too. Perforated metal lets air flow best. Plastic works for starters on a budget. Look for stainless steel; it lasts and cleans easy. Budget picks run under $50. Pro models with fans hit $200, but they cool in under two minutes.
Must-Have Features in a Top Cooling Tray
Perforations top the list. Holes let air hit every bean. Raised edges keep spills in check.
Easy-clean surfaces save time. Oil buildup sours future roasts if you skip this. A built-in fan cuts cooling to two minutes. Without one, you stir more, but it still works fine.
Fans win for speed, yet manual trays cost less and do the job.
Matching Tray Size to Your Roaster
Small home roasters, like quarter-pound models, pair with 12 by 18 inch trays. They handle the load without crowding.
Bigger five-pound batches need 24 by 36 inches. Too small a tray means thick piles and slow cooling. Uneven temps follow, so flavors suffer. Measure your batch spread out. Add a few inches for stirring room.
Step-by-Step: Deploy Your Cooling Tray at the Perfect Moment
Ready to roast? Follow these steps for control.
- Track roast progress with a temp probe or color check.
- Dump beans onto the tray the second you hit target.
- Stir every 30 seconds, or turn on the fan.
- Cool to under 70 degrees Fahrenheit.
- Store in an airtight container right away.
Timing stays key. Move within five seconds of roaster drop-off. Practice builds speed.
Timing Your Roast Drop Perfectly
Watch for signs. End of first crack suits light roasts. Color shifts signal medium.
Use a timer or probe at 390 to 420 degrees typically. Each bean type varies, so test runs help. Note what works for your setup. Soon, you’ll drop at the precise second.
Master the Dump and Stir Technique
Pour smooth to dodge burns. Spread even and thin. Stir clockwise for full air exposure.
Wear gloves always. Work in a ventilated spot. Beans fly hot, so contain the mess. Even spread means uniform cooling every time.
Monitor and Finish Cooling Like a Pro
Check temp every minute. Once below 140 degrees, rake into piles.
Don’t bag hot beans. Moisture builds and molds form. Full room temp keeps them fresh weeks longer.
Pro Tips and Fixes for Cooling Tray Success
Preheat the tray a bit. It avoids thermal shock on beans. Use a cool room under 70 degrees ambient. Heat slows everything down.
Clean after each use. Wipe oils to prevent rancid tastes. For bigger batches, add a second tray.
Troubleshoot fast. Uneven cooling? Stir more often. Slow process? Get a fan. These tweaks scale your game up safely.
Avoid These Cooling Traps That Ruin Batches
Piling beans thick kills speed. Always go thin.
Skip stirring, and hot spots form. Fan assist helps here.
Store warm, and moisture ruins flavor. Wait full cool, then bag. Minor fails recover with re-roasting small amounts. Most batches save easy.
A cooling tray hands you precise roast control and better brews every time. Flavors pop without waste, right at home. Grab one and test it on your next batch. Share your results in the comments below. What roast level will you nail first? You’ve got this, barista style.